Monday, July 26, 2010

{DIY} Flower headbands


I almost feel silly even posting this super easy DIY project because it's so east you don't even really need instructions but here it is anyway.

On Friday I took my girls to the mall where we saw these cute flower headbands being sold at an accessory store. My girls tried on the headbands and looked so adorable. I was about to buy each of them a headband ( $4 each) but decided that making them ourselves would be a better route.
First, we are always trying to teach our girls about money. I explained to them that for the price of one headband we could make a few of our own for less. Second, if we made them ourselves, they could customize them because they get to choose their own flower colors. Lastly, I saw it as another craft we could do together.

A quick trip to the Dollar Store yielded us 6 headbands ( 2, 3-pack headbands) and 2 types of flower bunches for a total of $4.

Our custom headbands took literally minutes to make. The girls were so excited to pick which flowers go with which band. They were also excited to have 3 headbands each instead of the 1 we would've bought.

Instead of simply buying the ones at the store, we had an impromptu craft that my girls enjoyed.

I think these would make a great addition to a tea party, dress-up or fairy party and could double as adorable favors. They would also be great for flower girls at weddings with the use of fancier flowers and the addition of other embellishments.


To make these flower bands you will need:

  • Artificial flowers
  • headbands
  • hot glue gun

Remove the flower from the stem and trim off any extra plastic that may be sticking out

Add a pea sized drop of glue to the headband


stick the flower to the side of the headband and hold for about a minute until it sets
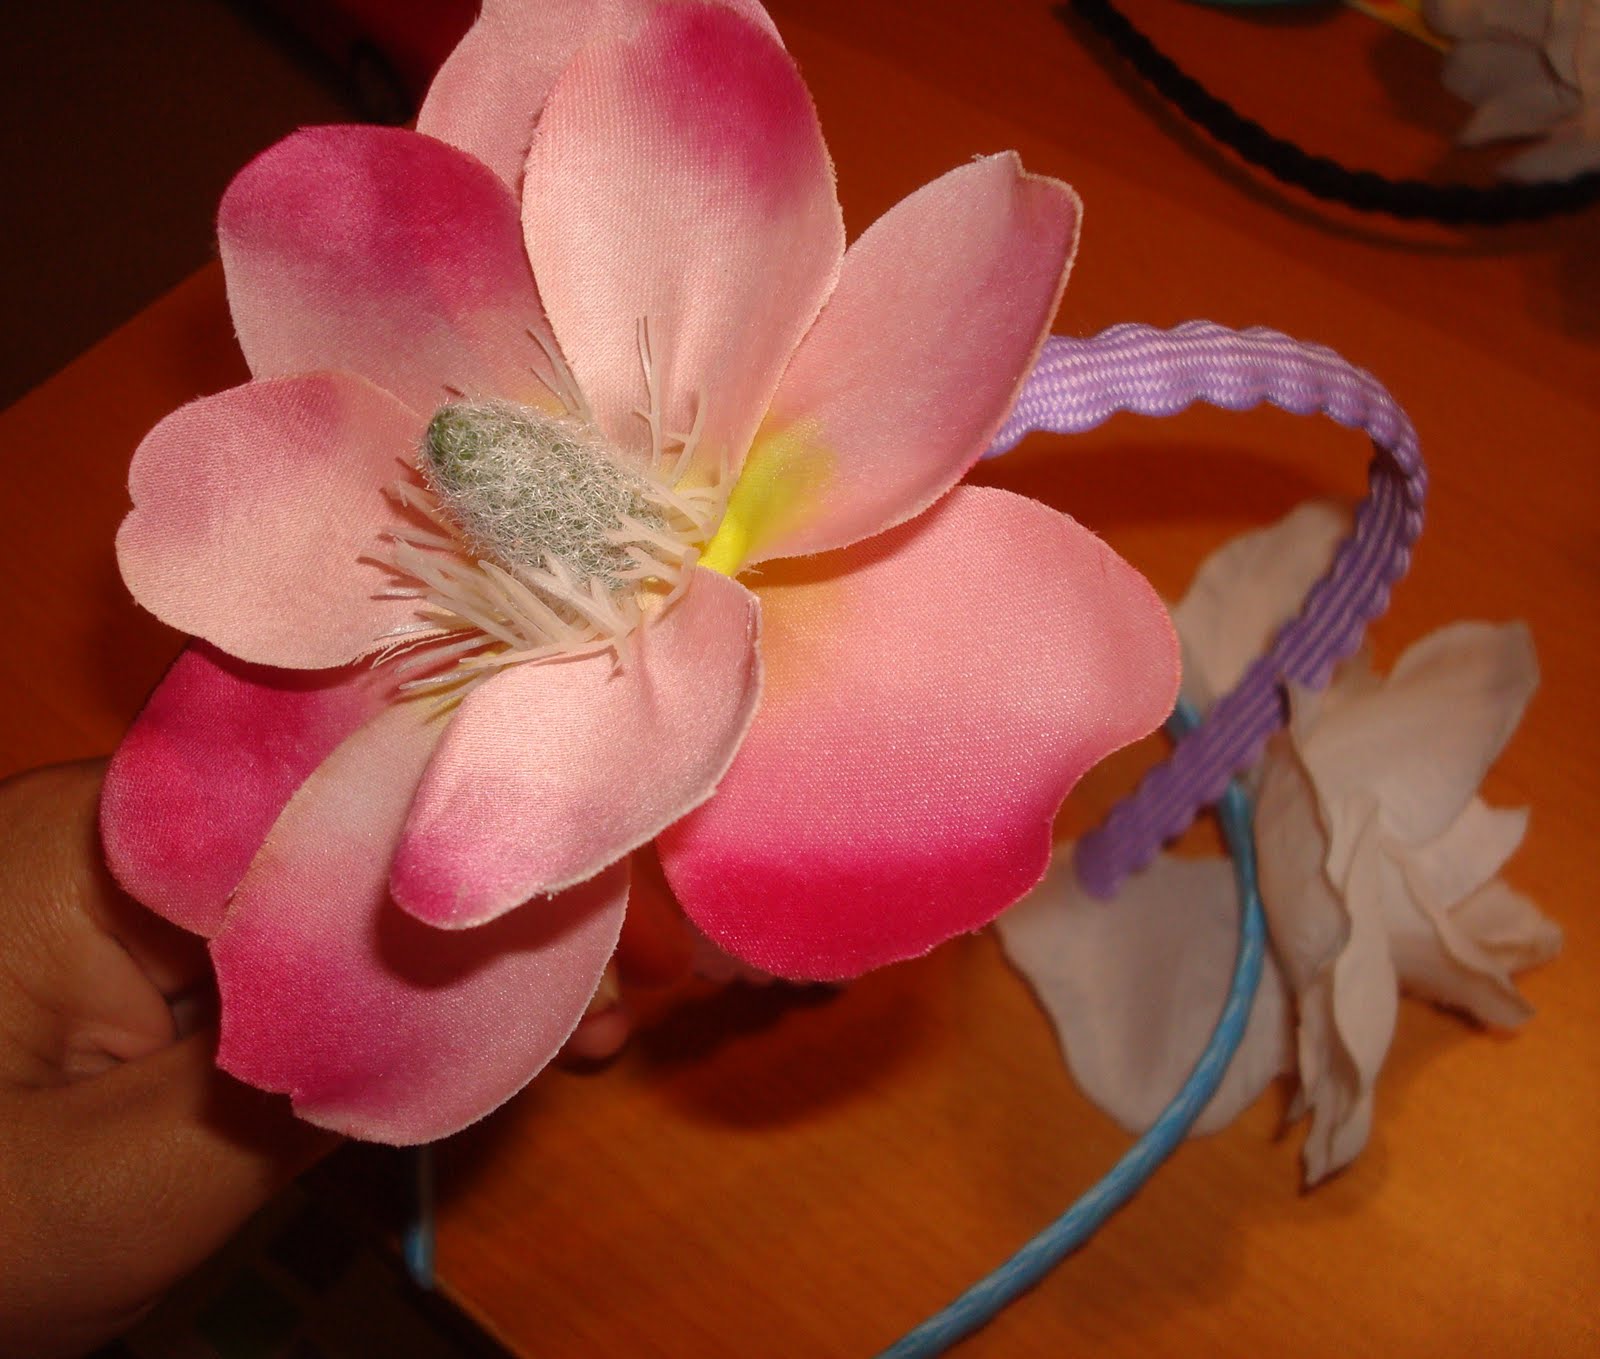


See, I told you it was super easy!


Friday, July 23, 2010

{DIY} Wine cork card holders


My friend Heather ( you can follow her blog at Bicoastal Bride) recently had a beautiful wedding that included several DIY projects. These simple and classy escort card holders were so adorable I just had to share them with you.

Heather says she and her fiance Stephen wanted to reflect their California roots and love of wine in their "California Romance" themed wedding. However, with ready-made wine cork escort card holders costing around $2 each, they decided to make this a DIY project.

For their project, they bought a package of 100 corks with a preprinted grapevine design for $15 from Winemakers Depot. While they had a lot of fun making these holders, Heather advises not waiting until the last minute to do this project as it took them a few months to complete it.

I think these would also work well at a wine and cheese party, adult birthday party, engagement party or bridal shower. They can hold place cards or cards labeling food and drinks.


Heather was kind enough to share instructions on how to make these beautiful card holders.


You will need:

a small hand saw
small vice to hold the corks in place
protective gloves and glasses
corks
small sharp knife
permanent markers


Directions:


* Please wear protective gloves and glasses when working with sharp objects*

1. secure the cork tightly in the vice
2. using the hand saw, cut the cork in half lengthwise
3. using the knife, cut a slit on top of the cork long enough to hold your card
4. decorate the cork as desired with markers


What a wonderful project! Thank you Heather for sharing!


photos: Alex Neumann Photography

Tuesday, July 20, 2010

The Amazing Glass Jar


My kitchen cabinet holds an amazing treasure- a collection of glass jars waiting to be reused and repurposed. Every time I empty a jar of pasta sauce, the crafter/ eco-conscious/ semi-hoarder in me says not to throw them away. I know there are plenty of uses for them, I just had to find those ideas.

My main purpose for glass jars is storing used frying oil. Once I fill a jar with oil, I toss it in the trash. Kind of a waste of a perfectly good jar, I know.

My last issue of Family Fun magazine had a great article on meals in a jar. It's the perfect outdoor meal that the kids will enjoy putting together. They used canning jars for their meals so I'm not sure if my pasta jars will work but it's still a great idea worth sharing. They had recipes for omelets in a jar and cakes in a jar.

Determined to find more uses for these jars, I asked my always crafty and creative friends on Blog Frog for ideas. The response was amazing and they also came up with some great projects for reusing glass jars. Here are some of my ideas and their suggestions for reusing jars.

Serving:
1. Use the jars as drinking glasses. Perfect for a western or outdoor themed party. Check out this cowboy themed baby shower on Hostess With the Mostess where they used jars as drinking glasses.


2. Fill with salsas, relishes and sauces at parties.


3. Fill with candy and place on your desk at the office.


Storage:
1.In the kitchen store dry foods such as pasta, beans or cereal. You can even label the jars with vinyl lettering with instructions from Martha Stewart.


2.In the garage, screw the lids to the bottom of a board. fill the jar with small items like nails, bolts, etc. then screw the jar back to the lid.

3.In the craft room, fill with scrapbooking embellishments, buttons, threads.

4. In the office, use as a pen/pencil holder or fill with paper clips and other supplies.


Crafts:
1.Responsibility jar for kids-- decorate the jar then fill with a marble each time they make a good decision or complete chores. Once the jar is filled, they can receive a reward.

2.Use as a candle / votive holder

3. Group jars of various sizes together and use as flower vases.

4. Create a fairy jar

5. There are several science experiments to do with the kids using glass jars. Martha Stewart has a few ideas here.


Gifts:
1.Cookie mix in a Jar- fill the jar in layers with the dry ingredients needed for a cookie recipe. Cover the lid with fabric, tie with a ribbon along with instructions on adding the wet ingredients.

2. Mix your own bbq sauce or salsa. attach your own personalized label and ribbon to finish the look

3.Hot glue jelly beans to the lid and seal with mod podge. Tie a ribbon around the edge of the lid. Fill with jelly beans.


4. Fill with bath salts. Cover the lid with fabric and a ribbon coordinating with the color of the bath salts


So which idea will you try at home? Got a glass jar project we didn't cover? Post it here!