Showing posts with label DIY. Show all posts

Friday, June 6, 2014

S'mores class favors


So, I've been MIA from blogging. I've been busy, lazy and everything in between. But this week I received several emails and messages from people who guess what---  Read my blog! Specifically, they've been reading my post on an end of the year class gift I made. I posted a free printable 3 years ago but apparently, Scribd now requires a paid membership to download, so my "free printable" isn't free to download unless you're a member. Sorry!

Anyhow, this reminded me that although I've been updating the facebook page, I haven't blogged in six months.  So I'm going to try to get back into it and I'm starting with a revamp to my S'mores favors.

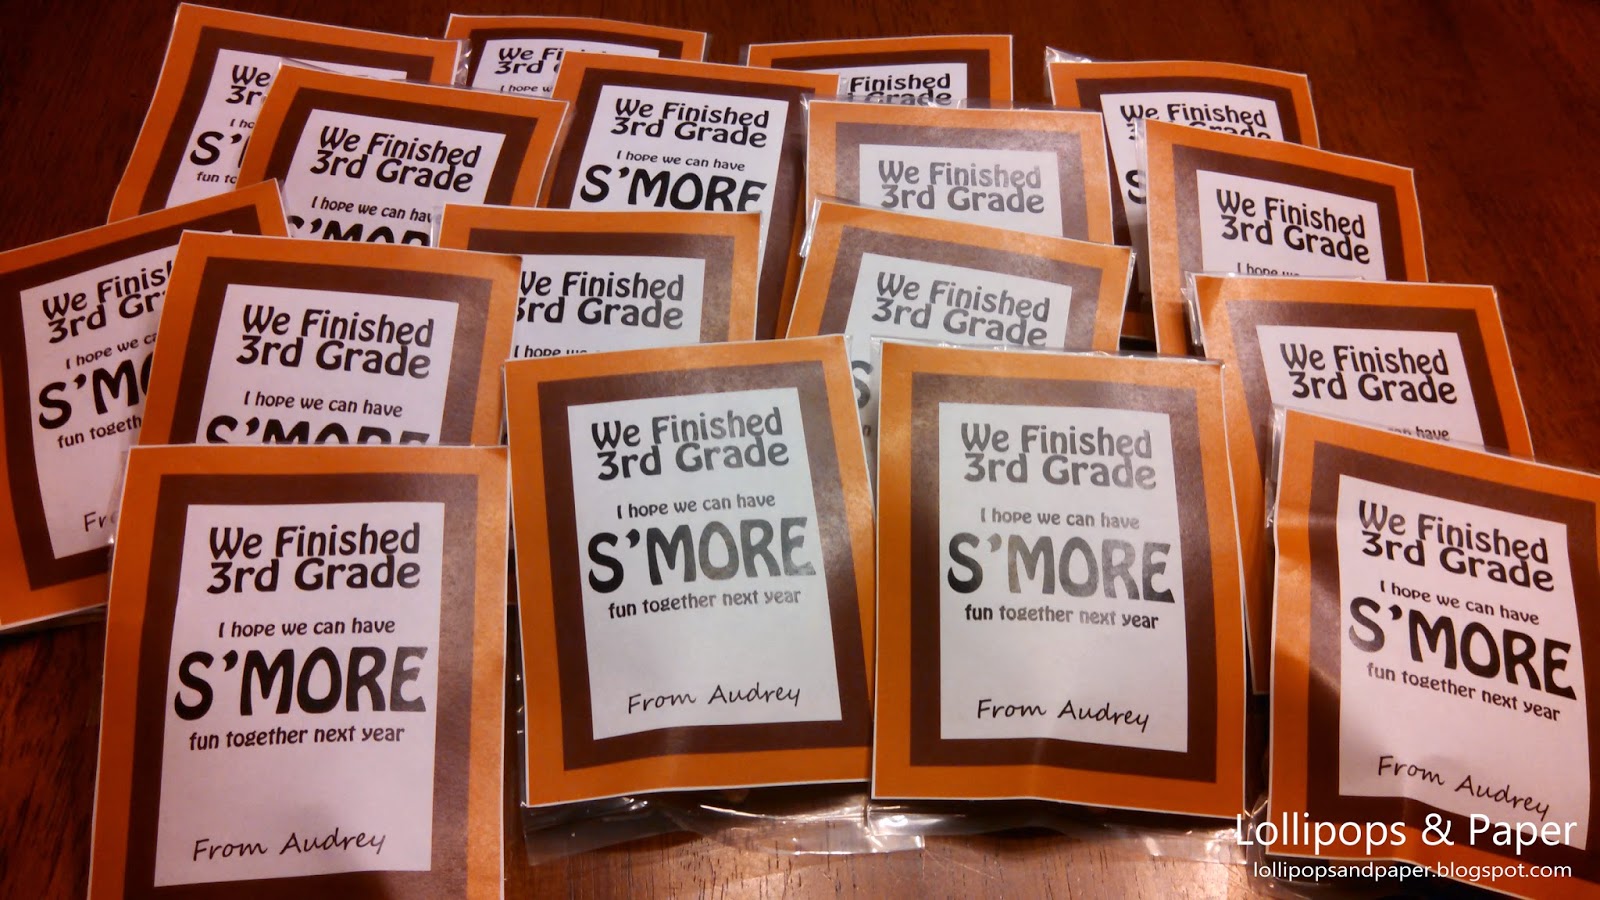
We first gave these out when my oldest daughter finished kindergarten. I blinked my eyes and here we are giving them to her THIRD GRADE class. My second grader is also giving them out to her class. We changed schools this year so I'm not technically recycling an idea-- these classmates of theirs have never received them so they're "new."

There are tons of s'mores flavored snacks out there. It was hard for me to decide which snack to choose.


I ended up going with Pop Tarts because the size of the package worked perfectly with the printable I designed. Here's the thing-- we've never bought Pop Tarts at our house. The box said 16 Pop Tarts so I bought 4 boxes thinking that would be enough for a total of 60 kids. Here's the thing I learned after opening two boxes-- each packet has two tarts. So one box only made 8 favors.
I had already opened the box so I went with it anyway.


For the remaining favors, I used Goldfish crackers because it came out cheaper than buying more Pop Tarts. I filled a 3x5 lollipops bag with approximately 1/4 cup of crackers and sealed them.


I think I like the Goldfish ones better since you can actually see the contents of the bag.
 
So summer is here. I don't quite know if that means I'll have time to blog more, but I'll certainly try.


Wednesday, December 4, 2013

Christmas table decorating {Christmas Tea 2012}

 
Christmas is here again and my favorite way to welcome the season is with our church's annual women's tea. The tea is a wonderful tradition where the women of the church decorate and host tables and the men serve as butlers.

This post is about a year late as I am sharing photos of last year's tea. Hopefully I will get photos up of this year's event much quicker. I don't know what I enjoy more, preparing and setting up my tables or walking around and admiring the talent and creativity displayed in the other tables.

I decorated three tables last year, two for my invited guests and one for guests of the church.
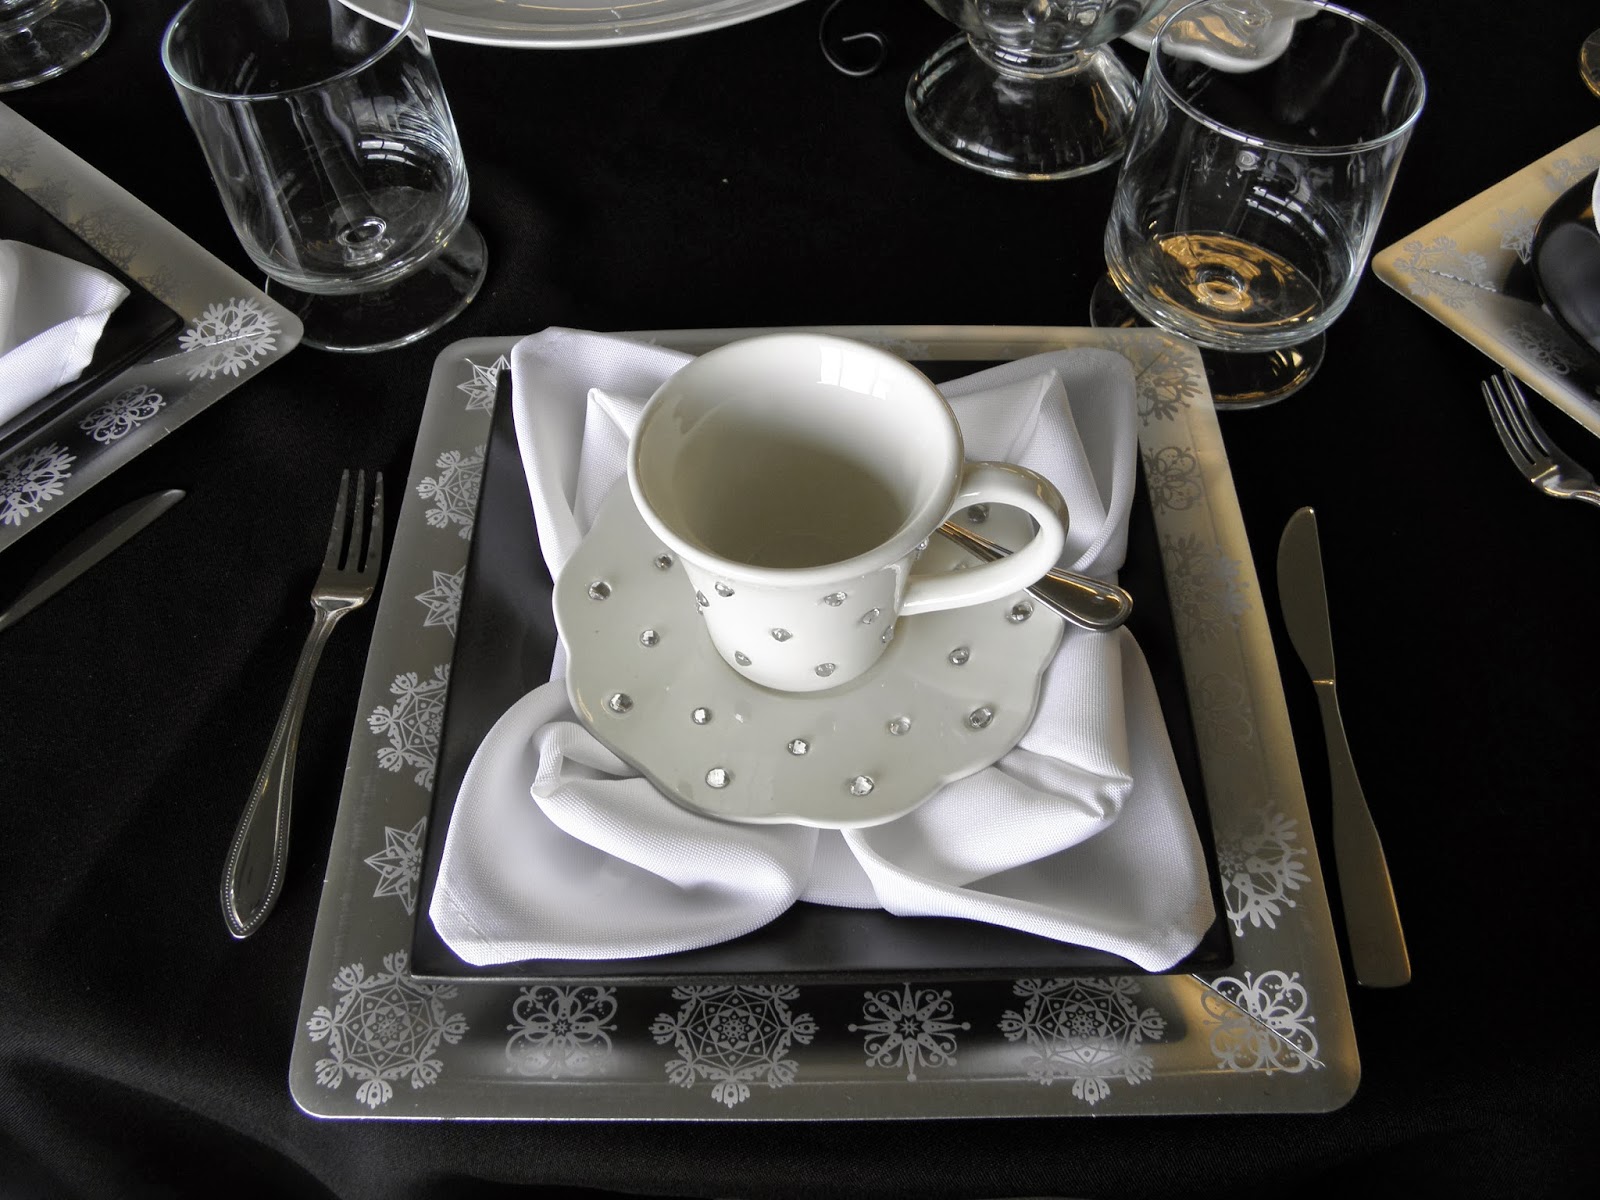
My first table was a black and silver. I was going for a glam look with lots of silver and sparkle.


My second table was peacock theme. I found a gold peacock with blue and purple ornaments at Ross and I just knew I had to use it. The same week, I spotted gift bags and napkins at Home Goods that matched. I love it when things just come together.


My last table was a brown and gold table. I like adding brown  tones to my Christmas décor as I think it complements all the glitter of the season.

 
The following photos are of tables decorated by other women from our church. More than 70 talented women hosted and decorated tables.


For more pictures of the 2012 Christmas Tea, check out the facebook page

Friday, September 20, 2013

Rainbow Magic party


Summer isn't completely over until we celebrate my daughter Audrey's birthday. This year she decided on another pool party. Audrey has been into the Rainbow Magic book series for the past year so the theme came naturally.

While the rainbow theme has been popular for a while, I didn't find a lot of Rainbow Magic party ideas. Luckily, the series' website gave me some help. On the Rainbow Magic site, you can create your own fairy. Audrey had such a fun time creating her very own fairy and we used this as the starting point for the party.

 I saved the image of the fairy Audrey created and designed her invitations to look like a book cover.


For party favors, Audrey created fairies for all the girls she invited and I designed  each of them a personalized bookmark. We also added rainbow hair clips and colored crackers. We put all the goodies in simple white bags.


The swim party was once again at our local aquatic center We just love this place and had a wonderful time at last year's Mermaid themed party.

Our breakfast buffet included fruit in the colors of the rainbow, pastries, mini pancakes and breakfast sandwiches.


For the table centerpieces, I made coffee filter flowers and dyed them rainbow. This project is extremely cheap and super easy and I am very happy on  how they turned out.  I placed colored tablecloth in rainbow order on the tables.


The  talented  Kit of Cupkits once again provided the cake and cookies.
 Using the faux book cover I designed, Cupkits made a stacked book brownie cake.


 She also made sugar cookies to look like books accompanied by sugar cookies shaped as "8" and "A."
 
After the party, we sent the free downloadable thank you card from the website to all the guest.

More photos from the party are on the Facebook page


Credits:
invitations,  printables & party styling by Lollipops & Paper
cake & cookies by Cupkits Edible Creations
create your own fairy: RainbowMagicOnline.com

Friday, May 17, 2013

"FREE" Disney Souvenirs

 
So I've been MIA from blogging. The holidays kept me busy, which carried into the new year and before I knew it it was time to pack for our long awaited Disney cruise-- which nicely leads into this post.

You know those souvenirs you buy on vacation- the overpriced, made in China stuff that end up in the junk pile 2 weeks after you come home? Well, I didn't want to buy any of those. Instead, we opted for two "free" souvenirs. I use the word free because they weren't things we bought while on vacation but rather things we took with us from home.

Now let me just say I didn't think of this myself, I saw several photos online of this idea and I am just sharing how ours turned out.

The first souvenir we got was an autographed photo mat.  I bought a white photo mat at Michael's ( I think it was around $5 with a coupon) and colored Sharpies. Immediately after boarding the ship, I took the mat and markers to Guest Services. I filled out a short form stating our stateroom number and who we wanted autographs from. I Think you can choose Princesses only, all characters, Mickey and Friends, only, etc.. We also included some candy for the characters as a thank you.


On the last night of our cruise, we had this waiting for us in our stateroom.
 
Cute, right? While it's not technically a free souvenir since I bought the mat and candy, I think it's still an awesome keepsake. Now I just have to decide which photo we want to frame.
 
Our next souvenir is truly free. Our kids received a Disney storybook collection for Christmas.
 
 
Instead of buying an autograph book, we had the characters sign the storybook during the meet and greets.


On a previous cruise, we had a scrapbook signed and filled it with photos after we came home.
 Next time, I'm thinking of bringing some ceramic mugs. There are tons of "free" souvenir ideas out there.
I hope this helps some travelers out there!