Showing posts with label wedding. Show all posts

Sunday, June 9, 2013

Beach Theme Wedding Dessert Table


One of the perks of living in Southern California is having the opportunity to be a part of beautiful beachside weddings like this one in Malibu. The ceremony was on the beach and the reception at The Sunset Restaurant right across the street.

The dessert selection included three varieties of cookies, brownie bites, wafer sticks, licorice, pretzel sticks, kettle corn and chocolate shells.


We asked the guest to wait until the cake was cut before they took from the display.

 
Wedding cake by A Sweet Design
More photos from this event are on the Facebook page.

Monday, November 12, 2012

Milk & Cookies Wedding Buffet


Of all the sweets tables I've set up, this may just be my favorite one. Candy tables have been a staple at weddings for years, but there is just something nostalgic and just plain heartwarming about milk and cookies at the end of the night.

My friend Linda asked me to design this table for her wedding. She didn't want anything over the top. Just a nice display of cookies and mini cartons of milk.

The display included cookies from Costco's bakery, Oreos and some of Linda's favorite cookies from a local bakery ( lemon sandwich cookies, chocolate meringues, thumbprint, chocolate lace and checkerboard).


The hotel brought out mini cartons of milk and chocolate milk.

We opened the table around 9:15 p.m.which gave people on the dance floor a nice reason to rest their feet and have some milk and cookies.

Congratulations Linda & Rimon. It may be cliche but I'll say it anyway-- may your new life together be sweet!

more photos can be viewed on the facebook page.

Monday, August 6, 2012

{GIVEAWAY} Candy Making for Kids by Courtney Dial Whitmore


The talented Courtney Dial Whitmore of Pizzazzerie has come out with her second book, Candy Making for Kids. Courtney is doing a Blog Book Tour and I am so excited she's making a stop here.


I love making lollipops and candy and I can already see my girls showing an interest in candy making. Anyone who makes candy knows that boiling hot sugar is not something young kids can work with which is why I am so excited about this book.


Filled with fun and easy recipes, it would make an awesome gift for the budding candy maker. None of the recipes require a candy thermometer so it's great for kids of all ages. 


You can get your copy of Candy Making for Kids on Amazon  and Barnes & Noble 
As an added bonus,  Courtney is offering book plates if you want your book signed. You can email Courtney at courtney@pizzazzerie.com with the subject line BOOK SIGNATURE.  In the email, include a  proof of purchase (screen shot of Amazon order, picture of receipt, etc) along with your address and who to make the greeting out to and she will send it your way.


OR your could try to win a copy here!
Courtney is giving away ONE copy of Candy Making for Kids to one of my readers. This is open to all U.S. residents, age 18 and over. A winner will be chosen on Friday, August 10 at noon (pacific time).

To enter the giveaway:
Head over to  Lollipops & Paper's facebook page and "like" it (or let me know if you already like it), then "share" this post and comment on who you will be making candy with.

How awesome is that?!


Photography by Zac Williams

Thursday, July 19, 2012

Summer dessert table ideas

Summer is in full swing at our house which means lots of swimming, tantrums and planning for my oldest daughter's birthday in September. Last year, her Tangled Garden party at the park fell on the hottest day of the year.


Apparently, our city was the hottest area in all of the county.  I think it reached 110 degrees that day. A news crew doing their heatwave story stumbled upon our party and interviewed us.  For my 15 seconds of TV fame, I was sweaty and yucky. Oh Well. But you know what, my dessert table was in tact despite the heat because we loaded up on treats that could hold up to the weather.  YAY!


So today, as I plan her mermaid themed swimming party, I am sharing my favorite things to include in a sweets table that I've used over the years. The temperature can easily reach over 90 degrees in our area so I have several go-to things I use when I know it will be warm. While almost anything will melt or go bad in extreme heat, I've found that the following hold up really well.

 I hope this helps some of you as you plan your summer parties. Please keep your fingers crossed for us that the news crews and heatwave stay away from us this year.


 In the jars from left to right: marshmallows, popcorn, wafer sticks.
Animal crackers and pretzels are also great.

Popcorn and Goldfish crackers are in the apothecary jars.
The basketball was a Rice Krispy cake which also holds up better to heat than cake.

Rice Krispy cake by Cupkits Edible Creations

Cookies with royal icing,  fondant decorations or left uncovered hold up really well. The important thing is to not use chocolate.
Silhouette cookies by Cupkits


Licorice  and sour candy (either belts, gummies or other shapes)


Gumballs

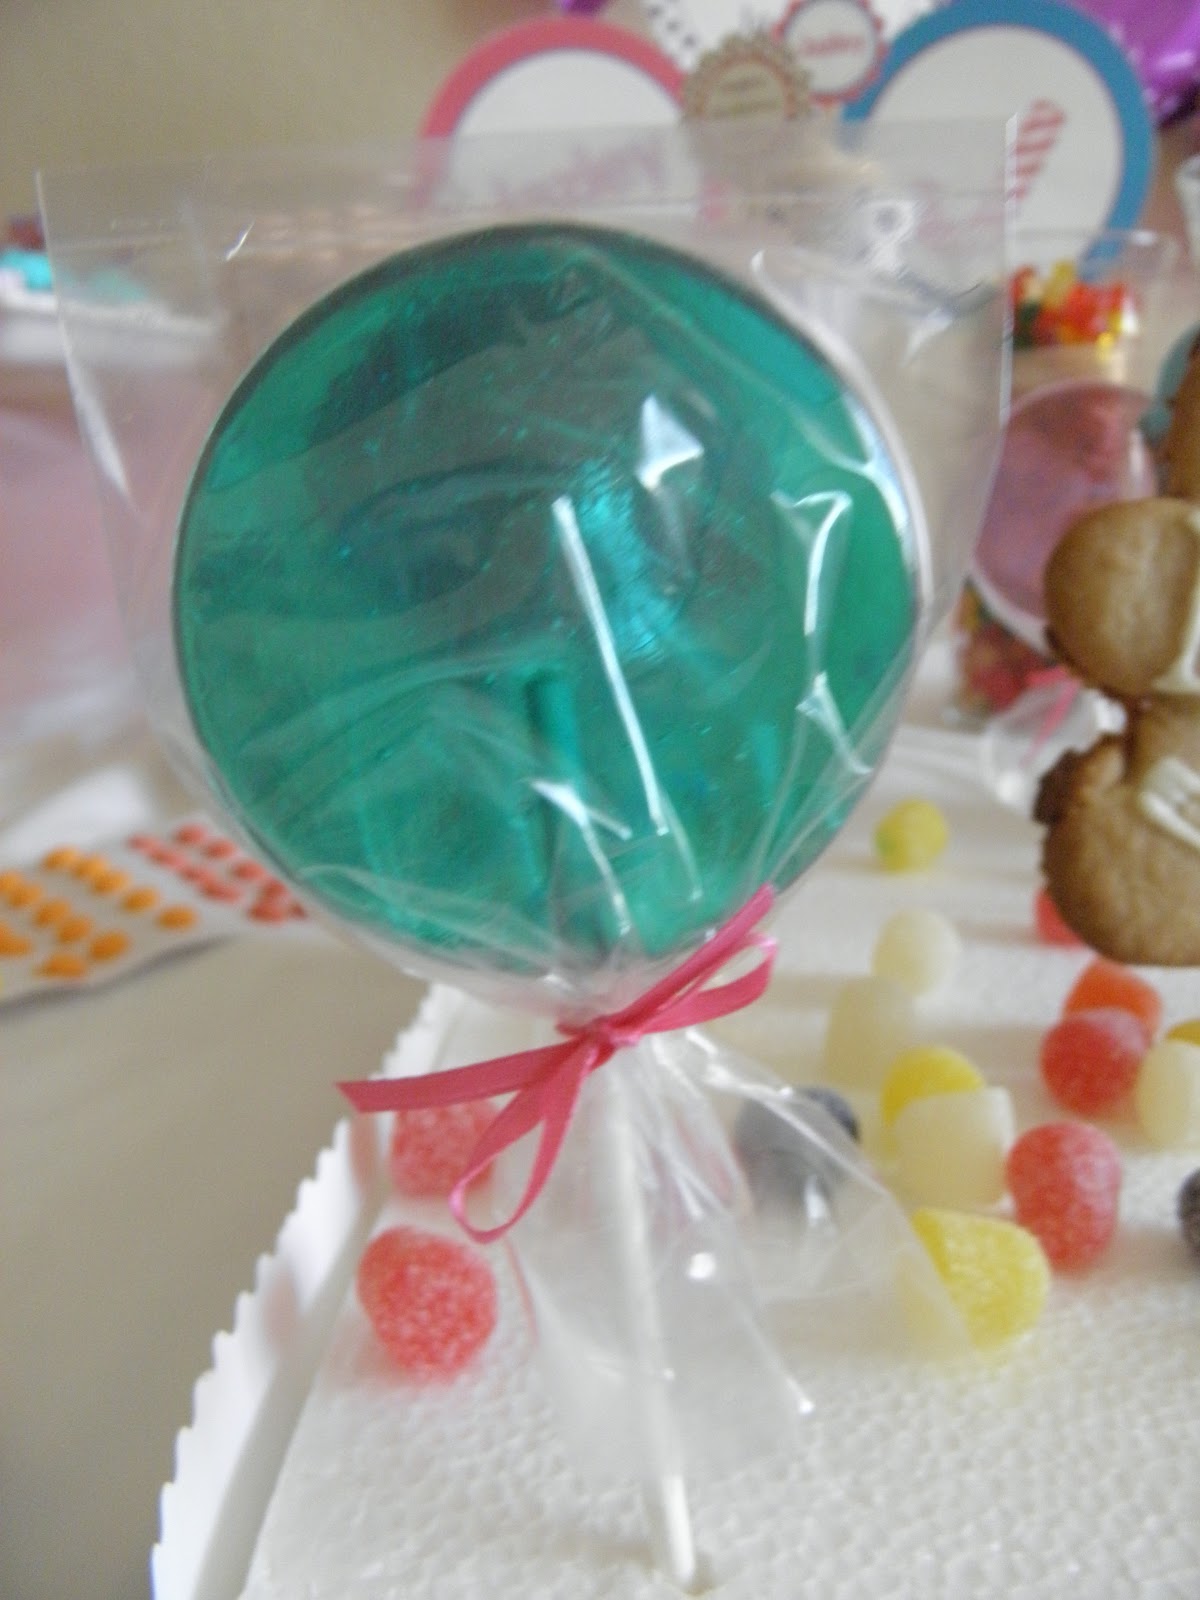
And lastly, I almost always include my hard candy lollipops


I hope everyone enjoys the rest of the summer

Sunday, October 2, 2011

Free Printable: Allergy Info Dessert Tags


Our family has been blessed to be allergy free but we still have to be cautious of those with allergies when sharing food. I all too often hear people at parties and potlucks ask if something contains nuts and more often than not, they don't get a clear answer.
At bake sales, treats are taken out of their original packaging and displayed on a table so any allergy info listed gets lost in the hustle and bustle of things. At potlucks, I see the same thing happening-- someone has an allergy question and no one can answer it because the person who brought the dish can't be found.
I bring a lot of food to a lot of places so I've decided to label my things to help minimize any confusion. I've designed 3 labels, "Contains Nuts," "Nut Free," and "Gluten Free" that I'd like to share with everyone. I made them in fall colors just in time for Halloween and Thanksgiving.


Even if your treats aren't homemade, sometimes store bough foods are removed from their original packaging so they could use some extra warning.
Print these out and use your favorite puncher (up to 2 inches) to make cupcake toppers. You could print these on sticker paper and have them work double duty to seal treat bags.


Any way you use them, I hope these help you out at you next gathering.
You can download all three labels here

Enjoy!


Thursday, July 28, 2011

RECIPE: Party Punch

Walking through Pottery Barn one day, I fell in love with this double drink dispenser but not the $109 price tag. A few weeks after seeing the dispenser at PB, I saw a similar one at Home Goods but like an idiot, I skipped on it.


With my daughter's party coming up I've recently been searching Home Goods, TJ Maxx and Ross and could not find it again- until today. There it was, on the shelf, waiting for me, this beautiful double drink dispenser that looks so much like the one from PB, except this one cost me $28 with tax!


So with this new knockoff double drink dispenser of mine, I am sharing with you 2 punch recipes that I plan to use for my daughter's party.


The first is a variation of a punch they served at a church I used to attend. It's simply refreshing and as a child I looked forward to the end of church every Sunday when I could get a cup of it. It is now a drink staple at my parties.

The second is a recipe I got from a book. If I knew the the title or author, I'd totally give credit now, but I don't, sorry.


Grapefruit punch:

1- 2 liter ginger ale

1- 64 oz bottle ruby red grapefruit juice

a good splash of grenadine


mix all ingredients together, chill and serve


Pineapple punch:

1- 64 oz bottle white grape juice

1- 48 oz can pineapple juice

1 liter ginger ale


mix all ingredients together, chill and serve


If you have a punch recipe you'd like to share, please feel free to post it in the comment area below.

Tuesday, May 24, 2011

DIY: Gift Card Garden


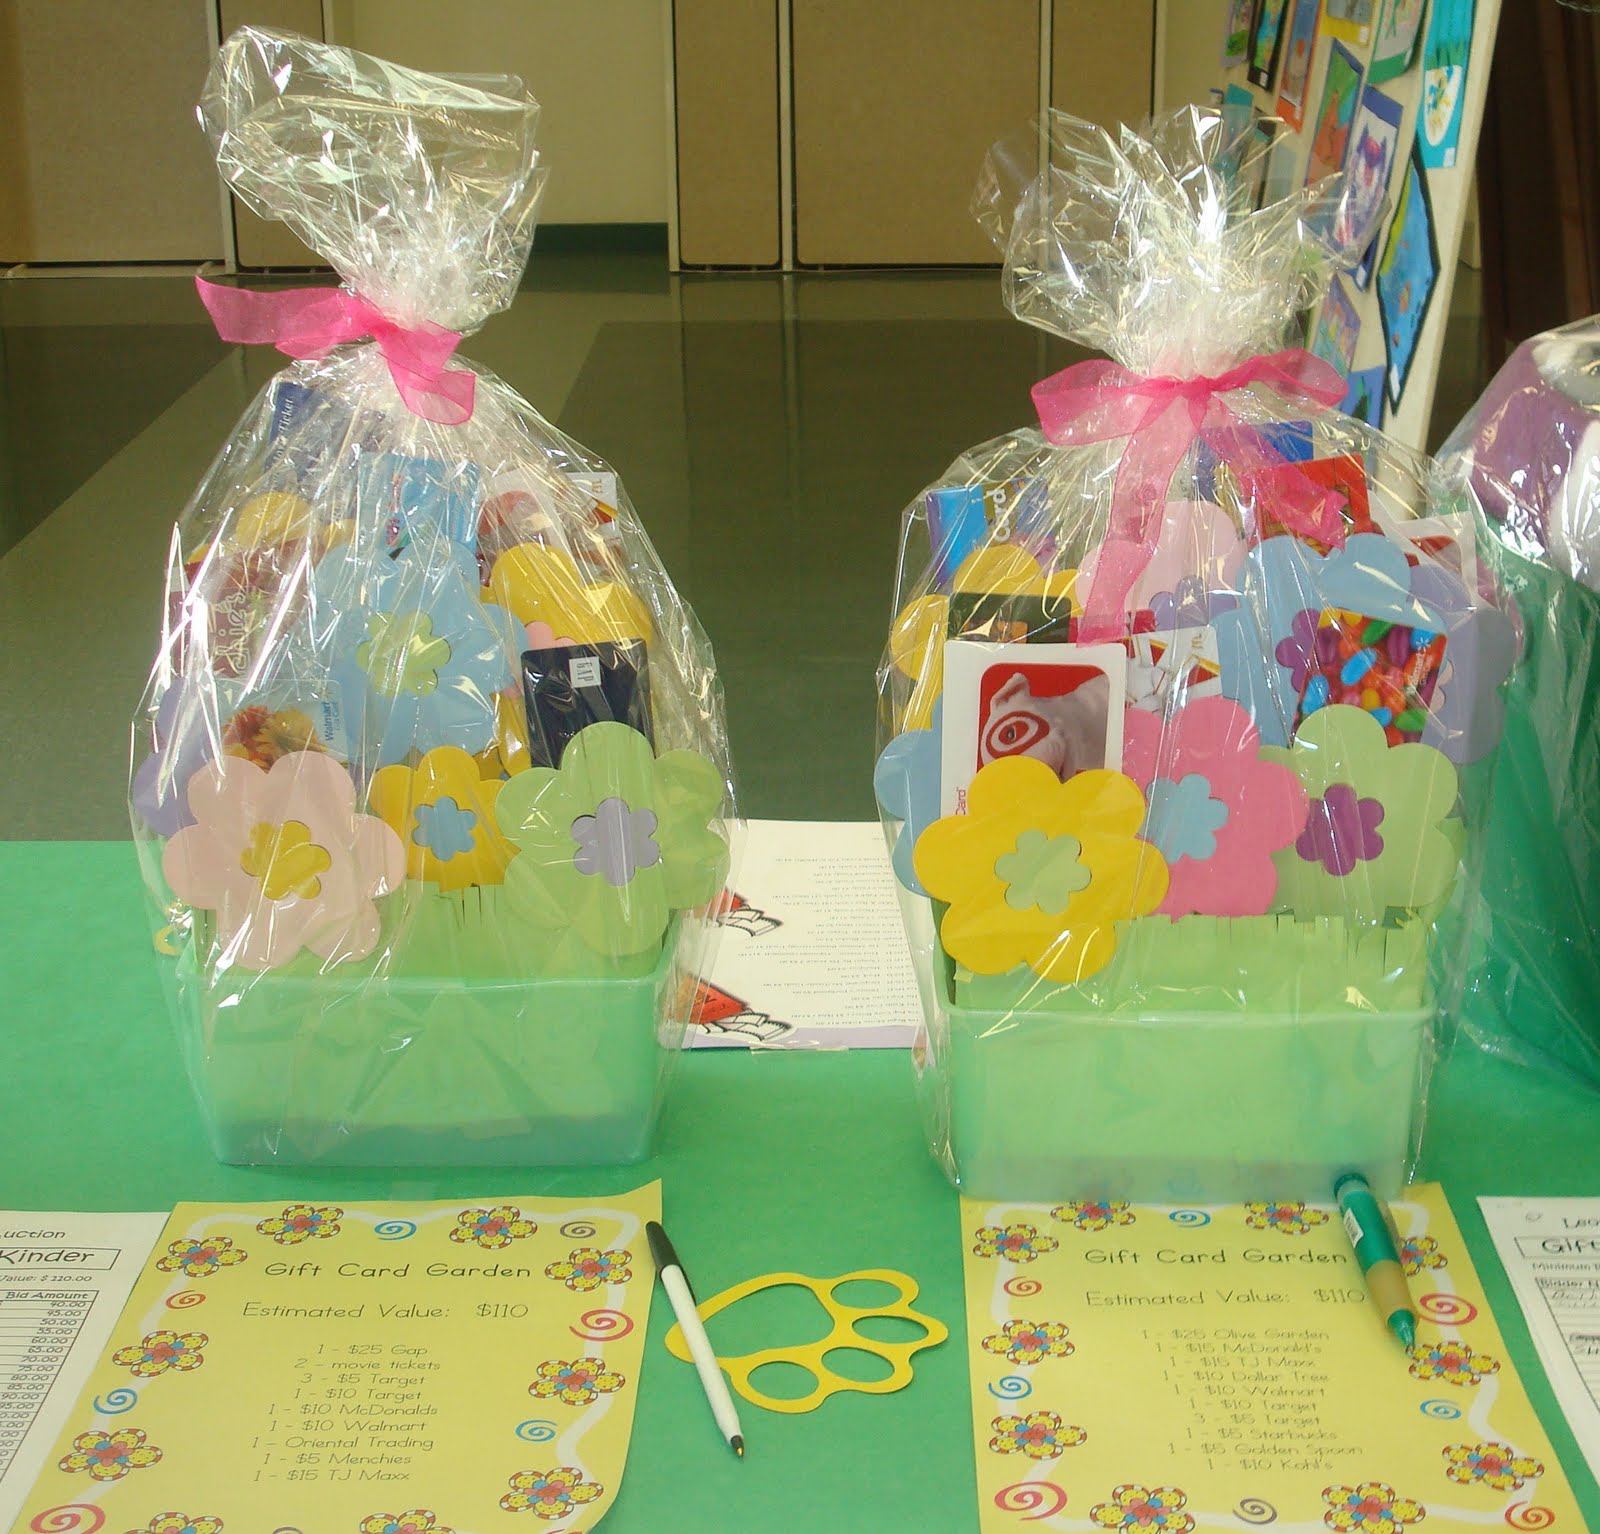
This week my daughter's school hosted an art festival that included a silent auction consisting of gift baskets in various themes. Each grade level was given a theme ( movie night, coffee, family game night, etc) and had to make a basket filled with goodies relating to the theme. Our grade's theme was "Gift Cards Galore" and I was asked to put the collected cards in a basket for the auction. Being that out items were cards i knew I couldn't present them in a traditional gift basket. I had seen several ideas online during Mother's Day and Teacher Appreciation Week for gift card bouquets so I decided to run with the idea. Instead of using a flower pot, I made my arrangement to look more like a planter box.


I was lucky enough to have left over die-cut flowers from another project and my daughter's teacher also had some spare die-cut flowers. If you don't have access to a die-cut machine, you can use a paper puncher or even cut the flowers freehand.


Materials:

baby wipe tub with the lid removed

wooden clothespins

wooden popsicle sticks

die cut flowers made from construction paper and / or scrapbook paper

hot glue

floral foam block


Instructions:


1. To make the stem, hot glue 1 popsicle stick to 1 clothespin, with the mouth of the clothespin facing upward. To vary the height of the flowers, you can glue two sticks together for some flowers.


2. Glue the clothespin part of the stem to the flower


repeat steps 1 &2 til you have as many card holders as you need


3. Place a floral foam block inside a baby wipe box with the lid removed


4. Stick the stems into the foam, arranging them in various heights


5. You can cover the foam in several ways. I cut a piece of green construction paper in half lengthwise then fringe cut it to create grass. You could also cover the top of the foam with green shred, small stones or even crushed crackers to look like dirt.

I also attached flowers to the popsicle sticks (without the clothespin) to cover any gaps or holes.


I think this would be a really cute way to present gift cards or even notes and greeting cards.

Tuesday, December 14, 2010

Christmas Tea ( Part 2)


Seeing all the amazing tables at the Christmas tea, I felt like a kid in a candy store. Each table had its own unique personality, reflecting the styles of more than 100 women.
The following are just a few of my favorites. I really wish I took pictures of each table.

More pictures of some gorgeous tables are up on my Facebook page.


What a clever way of adding some style to clear plates


I like how this host used silver with touches of gold


The beautiful place setting was set on top of scalloped edged cake boards


The silver branch in the silver urn was stunning


I was completely in love with the contrast of the subtle tones of the nativity scene and the big, glittery star


This table reminds me of the children's book series Fancy Nancy


This table used origami birds and stars